Full tutorial and additional chatbot projects: Click Here
पूरा चैटबॉट ट्यूटोरियल और प्रोजेक्ट्स: यहाँ क्लिक करें
Practical Project: Simple Chatbot
प्रैक्टिकल प्रोजेक्ट: साधारण चैटबॉट
In this project, you will learn how to create a simple chatbot using Python. The chatbot will take user inputs and provide responses based on pre-defined rules. This project is perfect for beginners who want hands-on experience with AI concepts.
इस प्रोजेक्ट में आप Python का उपयोग करके एक साधारण चैटबॉट बनाना सीखेंगे। चैटबॉट उपयोगकर्ता इनपुट लेगा और पूर्वनिर्धारित नियमों के आधार पर उत्तर देगा। यह प्रोजेक्ट शुरुआती लोगों के लिए आदर्श है।
# Basic chatbot
print("Hello! I am your ChatBot.")
name = input("What is your name? ")
print(f"Hi {name}! How can I help you today?")
This code takes the user's name and greets them. It introduces the concept of using input() to interact with the user.
यह कोड उपयोगकर्ता का नाम लेता है और उनका स्वागत करता है। यह उपयोगकर्ता के साथ इंटरैक्शन करने के लिए input() का उपयोग सिखाता है।
# Respond to user questions
question = input("Ask me anything: ")

if "your name" in question.lower():
    print("I am ChatBot.")
elif "hello" in question.lower():
    print("Hello! Nice to meet you.")
else:
    print("I am still learning to answer that.")
The chatbot can now respond to simple questions based on keywords. This introduces conditional logic in chatbot responses.
चैटबॉट अब कुछ सरल सवालों के उत्तर दे सकता है। यह conditional logic के उपयोग को सिखाता है।
# Multiple responses example
question = input("Ask me anything: ")

responses = {
    "hello": "Hi there!",
    "how are you": "I am a bot, I am always good!",
    "bye": "Goodbye! Have a nice day."
}

answer = responses.get(question.lower(), "Sorry, I don't understand that yet.")
print(answer)
This version uses a dictionary to store multiple responses. Beginners learn to manage multiple user inputs efficiently.
यह संस्करण dictionary का उपयोग करके कई उत्तर स्टोर करता है। शुरुआती लोग कई उपयोगकर्ता इनपुट को प्रभावी ढंग से प्रबंधित करना सीखते हैं।

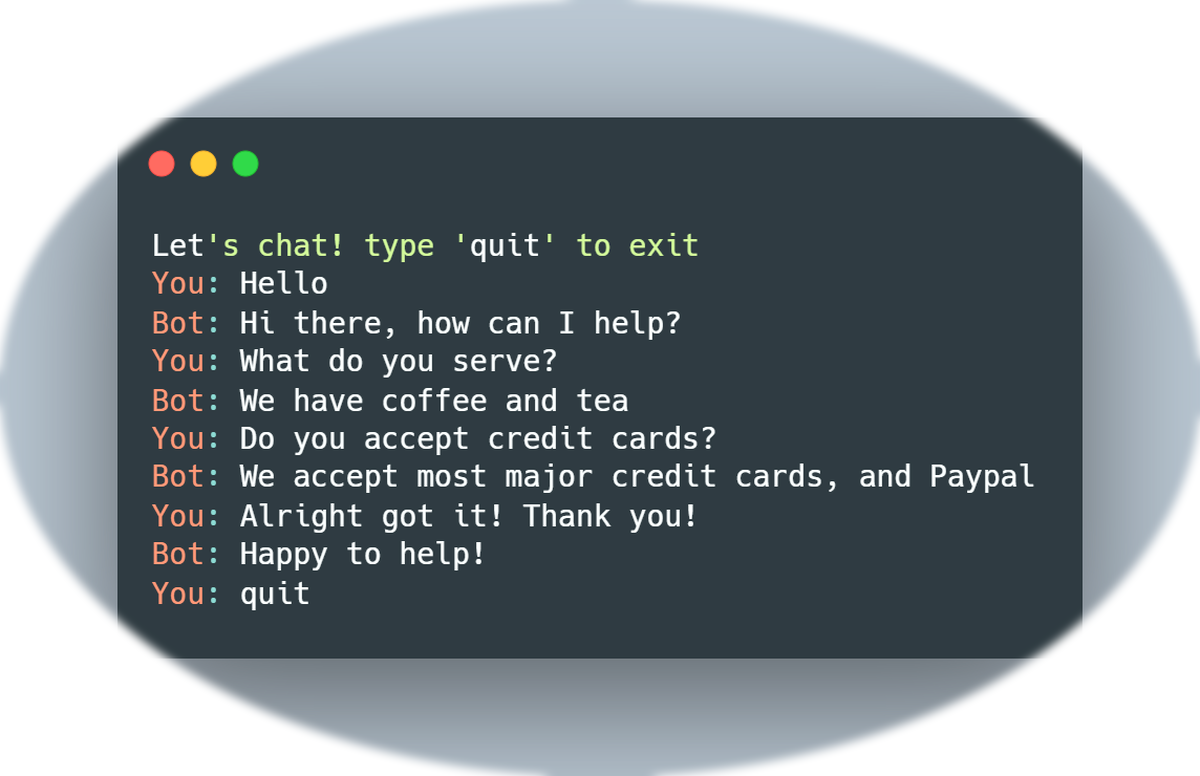
# Continuous chatbot
while True:
    question = input("You: ")
    if question.lower() == "bye":
        print("ChatBot: Goodbye! See you later.")
        break
    answer = responses.get(question.lower(), "Sorry, I don't understand that yet.")
    print("ChatBot:", answer)
Adding a while loop allows the chatbot to continue interacting until the user types 'bye'. This introduces loops in Python.
while loop जोड़ने से चैटबॉट तब तक इंटरैक्ट करता रहता है जब तक उपयोगकर्ता 'bye' नहीं लिखता। यह Python में loops को सिखाता है।